

Short answer: For most people, 3–4 LED mask sessions a week works well. Use one timed session at a time on a clean, dry face, then follow with your serum, moisturiser and (in the morning) sunscreen. Many people notice skin looking brighter and more even around weeks 4–6, though results vary. If your skin turns red, tight or dry, cut back rather than pushing on.
Key takeaways
- 3–4 sessions a week suit most people using an at-home LED face mask; daily use is not needed to see a difference.
- Use the mask on a clean, dry face with no makeup or sunscreen, and keep your eyes closed throughout.
- Apply serums, moisturiser and SPF after the session, not before.
- Running two sessions back to back does not speed up results; consistency over 4–6 weeks matters more.
- Skip the mask or ask a doctor first if you take photosensitising medicine such as isotretinoin, have epilepsy or light sensitivity, are pregnant, or have broken or freshly peeled skin.
How often should you use an LED face mask?
Think of an LED mask like exercise for your routine: regular, moderate sessions beat occasional marathons. For most skin, 3–4 sessions a week is the sweet spot. That is often enough to keep up steady progress and easy enough to fit around work, college or a busy household.
If you are new to light therapy, start at 2–3 sessions in the first week to see how your skin feels, then settle into 3–4. People with sensitive or easily flushed skin may prefer to stay at 3. There is no benefit in going above the frequency your device's manual recommends.
If you are not sure which colour mode to choose for your concern, our guide to what each LED colour does, and what it can't explains the options.
How long should each LED mask session be?
Use the built-in timer and the session length given in your device's manual, and stop when the session ends. It is tempting to restart the mask straight away, especially before a wedding or festival, but doubling up does not give you double the glow. Skin needs time between sessions, and too much light exposure in one go is more likely to leave you flushed or tight than glowing.
Pick a fixed time instead, such as while you drink your evening chai or listen to a podcast before bed. A routine you can actually stick to for six weeks matters far more than the length of any single session.
A sample weekly LED mask schedule
Here is a simple plan you can adjust to your skin and your week. The goal is spacing sessions out, roughly every other day.
| Day | Beginner (weeks 1–2) | Regular (week 3 onwards) | Sensitive skin |
|---|---|---|---|
| Monday | LED session | LED session | LED session |
| Tuesday | Rest | Rest | Rest |
| Wednesday | Rest | LED session | Rest |
| Thursday | LED session | Rest | LED session |
| Friday | Rest | LED session | Rest |
| Saturday | LED session | Rest | Rest |
| Sunday | Rest | LED session | LED session |
If you miss a day, simply carry on with the next planned session. There is no need to "make up" a missed one by doing two in a day.
Should you use an LED mask before or after serums?
Use the mask before serums and creams. Light needs to reach clean skin, and a layer of makeup, sunscreen, thick cream or oil can get in the way. Some sunscreens and makeup also contain pigments or minerals designed to reflect light, which is the opposite of what you want during a session.
The right order, step by step
- Cleanse with a gentle face wash and lukewarm water. If you live in a hard-water city and your skin feels squeaky afterwards, a quick splash of filtered water can help.
- Pat your face completely dry. Tie back your hair so it doesn't sit under the mask.
- Put on the mask, close your eyes and start the session. Sit or lie comfortably.
- Remove the mask when the timer ends and wipe it with a soft, dry cloth (or as the manual advises).
- Apply your serum, such as niacinamide or a hydrating hyaluronic acid serum.
- Moisturise. In the morning, finish with a broad-spectrum SPF.
Evenings tend to work best for most people, because you have already removed makeup and sunscreen and you can follow up with your night routine. Morning sessions are fine too, as long as you apply SPF afterwards.
Can I use an LED mask with retinol or vitamin C?
Generally yes, with a bit of planning.
With vitamin C
Vitamin C serums pair easily with LED. Do your session on a clean face, then apply vitamin C, moisturiser and sunscreen. If vitamin C stings on its own, it may sting more on skin that already feels warm, so wait a few minutes after the session.
With retinol or other retinoids
Over-the-counter retinol can be used on the same night: do the LED session first, then apply retinol on dry skin. If your skin is still getting used to retinol and feels dry or flaky, put LED and retinol on alternate nights instead. If you use a prescription retinoid cream, check with your dermatologist. And if you take oral isotretinoin, which makes skin more sensitive to light, skip the mask unless your doctor says otherwise.
With exfoliating acids and other tools
Avoid LED on nights you use a strong AHA or BHA peel, and leave a gap of a day or two after salon peels or facials. The same goes for pore care: on days you use a blackhead remover, give your skin the evening off from the mask. Our guide to using a blackhead remover vacuum safely covers how to space out pore care.
What are the signs you are overdoing it?
LED light from home masks is gentle, but skin can still tell you it has had enough. Cut back to 2 sessions a week, or pause for a week, if you notice:
- Redness that lasts more than an hour or two after a session
- Tightness, dryness or flaking that wasn't there before
- Stinging when you apply products you normally tolerate
- Headaches, eye strain or discomfort from the light
- New irritation around the edges where the mask sits
If irritation continues after a break, or you notice unusual dark patches, a rash or swelling, stop using the mask and see a dermatologist. Also see a doctor rather than relying on a mask for painful cystic acne, sudden pigment changes, or any spot that bleeds, grows or changes shape.
Who should not use an LED face mask?
Skip the mask, or speak to a doctor first, if any of these apply to you:
- You take photosensitising medicine, such as isotretinoin or certain antibiotics
- You have epilepsy, migraines triggered by light, or general light sensitivity
- You are pregnant
- Your skin is broken, sunburnt or freshly peeled
- You have an eye condition and are unsure about bright light near the eyes
Using an LED mask at home: what to expect
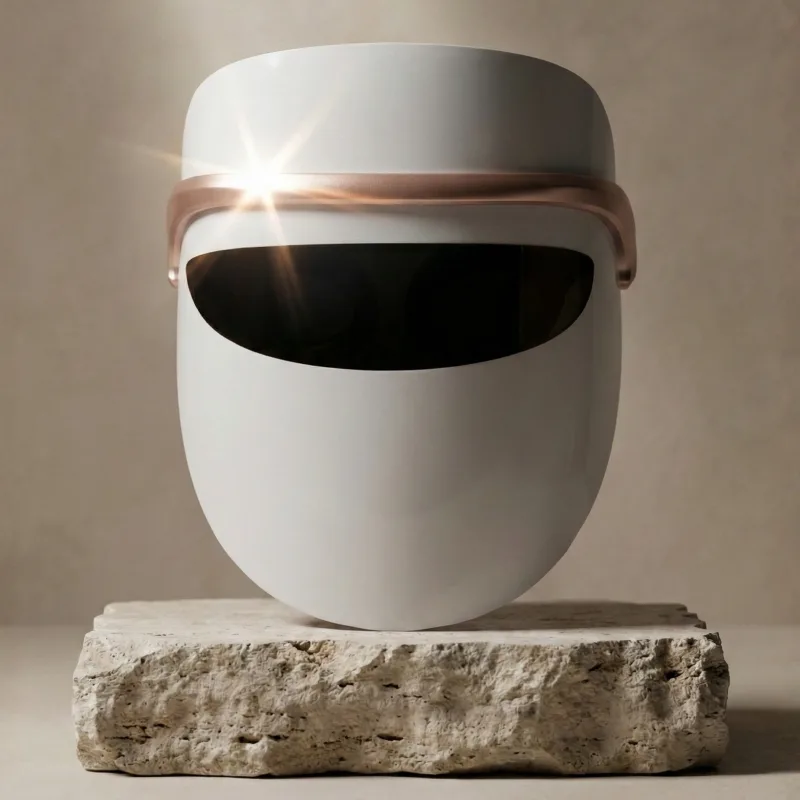
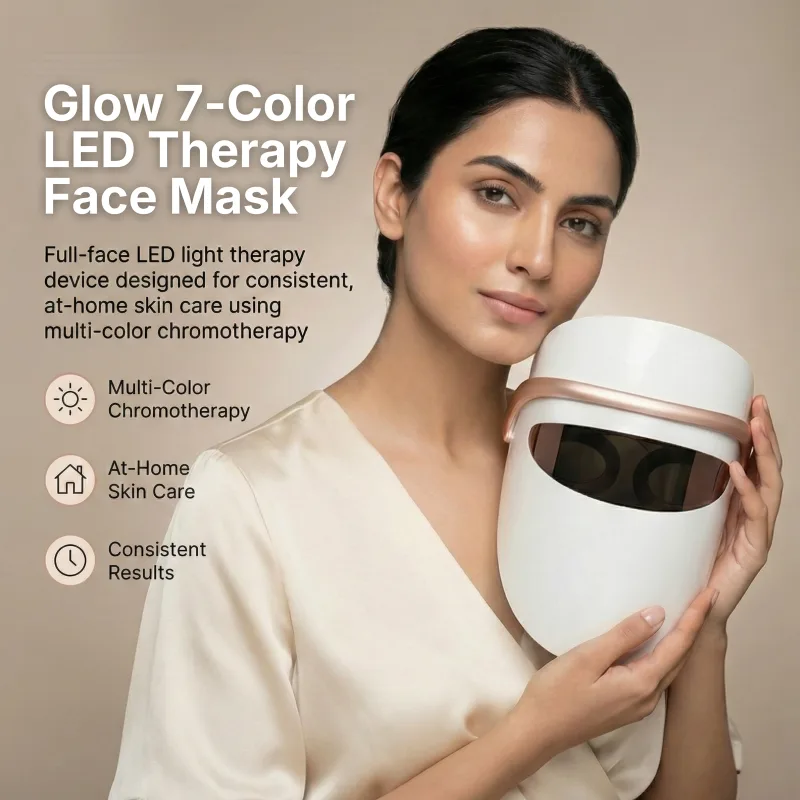
An at-home mask such as the Glow LED Face Therapy Mask has 7 colour modes and is designed for dull or uneven-looking skin, breakouts and early fine lines. Used 3–4 times a week, many people notice improved tone and firmness around weeks 4–6. Results vary with your skin, your routine and how consistent you are.
It is worth being honest about the limits. A home LED mask is gentler than in-clinic treatments, so changes are gradual. It will not replace sunscreen, a sensible skincare routine or medical treatment for persistent acne or pigmentation. In Indian weather it also helps to adjust what you pair it with: a light gel moisturiser after sessions during humid months, and a richer cream in dry winter. Our guides to oily skin in humid weather and winter care for dry skin can help you build the rest of the routine.
If breakouts are your main concern, read red vs blue light for acne before you pick a mode.
How long until you see results, and what happens after?
Give it at least 4–6 weeks of steady use before you judge. Take a photo in the same light at the start and every two weeks; gradual changes are easy to miss in the mirror. Once you are happy with how your skin looks, many people drop to 2–3 sessions a week to maintain it. If you stop completely, skin usually drifts back towards how it was, so a lighter ongoing routine works better than stopping and starting.
Not sure whether an LED mask fits your skin or which mode to start with? Message the Signaxo team on WhatsApp at +91 98116-65715 or write to hello@signaxo.com, and they can help you plan your first few weeks.